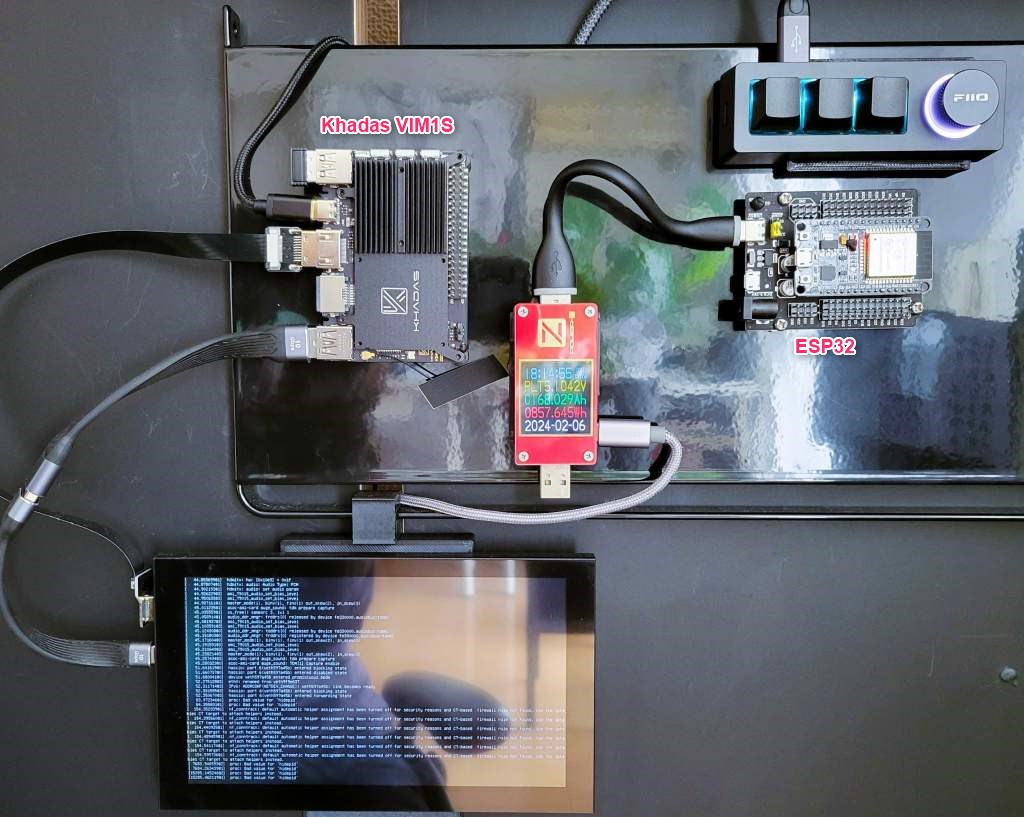
このページはKhadas VIM1SのSamba設定、Home assistantに登録できなかったガジェットなど失敗メモです。
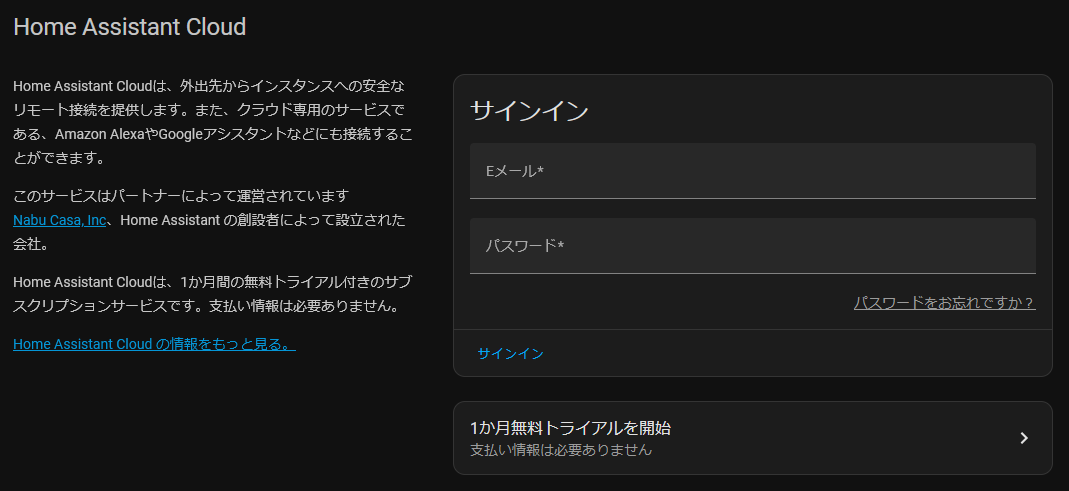
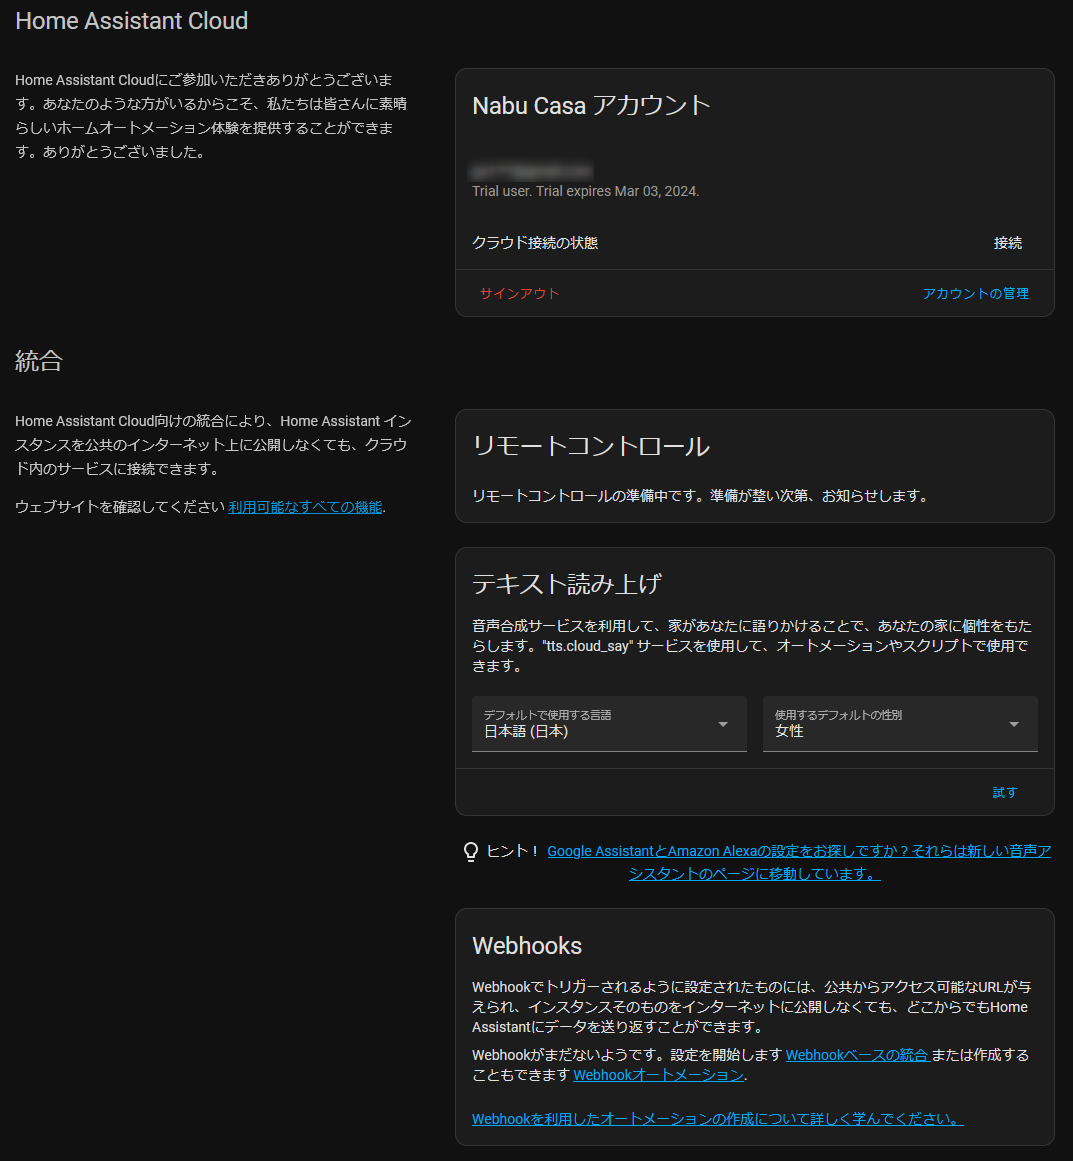
Home Assistant Cloud
有料で1ヶ月無料、ここからAlexaとつながる?と思ったけど繋げ方不明。
Samba共有(Khadas VIM1S用)
Khadas VIM1S用のSamba共有メモも書いておきます。
インストール
まずはsambaをインストール。
sudo apt-get install samba samba-common-binwsdd2インストール 自動起動
追加でWindowsで見るようにするにはwsdd2が必要、Debianはaptでインストールできないので以下のようにmakeしてコピーする。
git clone https://github.com/kochinc/wsdd2.git
cd wsdd2
make
sudo cp wsdd2 /usr/local/bin/
自動で起動させるようにwsdd2.serviceファイルを作成する。
sudo vim /etc/systemd/system/wsdd2.service

[Unit]
Description=Web Services Dynamic Discovery host daemon
After=network.target

[Service]
Type=simple
ExecStart=/usr/local/bin/wsdd2

[Install]
WantedBy=multi-user.target
systemdで自動で起動するようにする。
sudo systemctl daemon-reload
sudo systemctl enable wsdd2
sudo systemctl start wsdd2
共有設定
共有したいフォルダを一番下に追加
設定ファイル
cd /etc/samba/
sudo cp -a smb.conf smb.conf.default

sudo vim /etc/samba/smb.conf
[khadas]
path = /home/khadas
browsable = yes
writable = yes
guest ok = no
read only = no
パスワード設定
sudo smbpasswd -a khadas
Passを2回聞かれる
smb.conf を再読み込みする(リロード)
sudo smbcontrol smbd reload-configこれでKhadasユーザーのフォルダがWindows PCから操作できるようになった。
Home assistantで使えないガジェット
Mi Fit 2(Bluetooth接続)
使えなくはないが、専用アプリ起動中はBluetoothからデータを取得できないので面倒、
Mi Fit 2もBluetoothを使っているのでESP32を通して登録してみる。またまたこちらの方↓のマネをする。
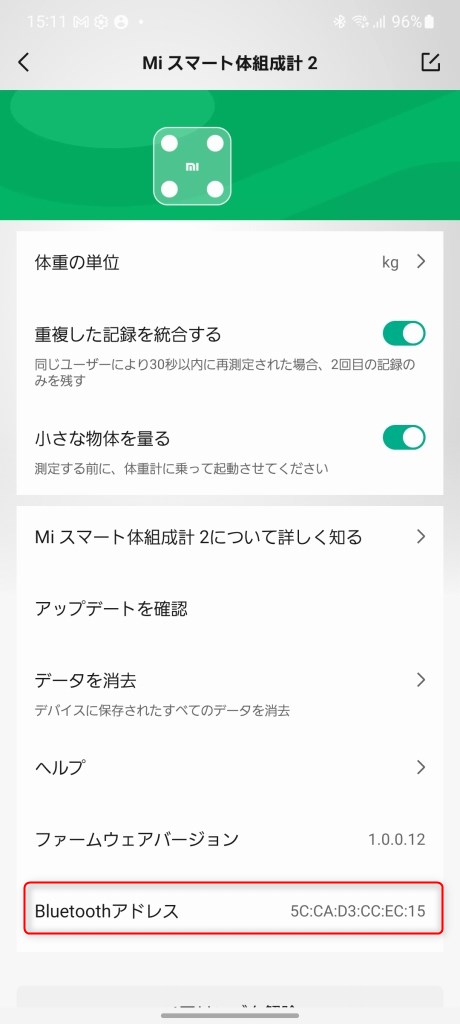
こちらはZepp Lifeから↓Macアドレスを見ることができて便利。
ESP32.yaml
先ほどESPHomeで登録したESP32のEDITでesp32.yamlを開いて一番下に以下を追加。
名前の「go」の部分とmac_addressを変更、あと体重の68・80を変更(体重が73Kg前後なので上限下限)した。
  # Xiaomi Miscale2
  - platform: template
    name: Weight go
    id: weight_user1
    unit_of_measurement: 'kg'
    icon: mdi:weight-kilogram
    accuracy_decimals: 2
  - platform: template
    name: Impedance go
    id: impedance_user1
    unit_of_measurement: 'ohm'
    icon: mdi:omega
    accuracy_decimals: 0
  - platform: template
    name: Weight Guest
    id: weight_guest
    unit_of_measurement: 'kg'
    icon: mdi:weight-kilogram
    accuracy_decimals: 2
  - platform: template
    name: Impedance Guest
    id: impedance_guest
    unit_of_measurement: 'ohm'
    icon: mdi:omega
    accuracy_decimals: 0

  - platform: xiaomi_miscale
    mac_address: '5C:CA:D3:CC:EC:15'
    weight:
      name: "Xiaomi Mi Scale Weight"
      id: weight_miscale
      on_value:
        then:
          - lambda: |-
              if (id(weight_miscale).state >= 68  && id(weight_miscale).state <= 80) {
                return id(weight_user1).publish_state(x);
              }
              else {
                return id(weight_guest).publish_state(x);
              }
    impedance:
      name: "Xiaomi Mi Scale Impedance"
      id: impedance_miscale
      on_value:
        then:
          - lambda: |-
              if (id(weight_miscale).state >= 68 && id(weight_miscale).state <= 80) {
                return id(impedance_user1).publish_state(x);
              } else  {
                return id(impedance_guest).publish_state(x);
              }
右上のSAVE、INSTALLを押してエラーがないか確認する。
体組成
ダウンロード
git clone https://github.com/dckiller51/bodymiscale.gitbodymiscaleディレクトリができる。
bodymiscale.yaml作成
bodymiscale.yamlを新規作成して、個人情報など↓を入力
vim bodymiscale/custom_components/bodymiscale/bodymiscale.yaml

go:
  sensors:
    weight: sensor.weight_go
    impedance: sensor.impedance_go
  height: 181
  born: "19XX-XX-XX"
  gender: "male"
  model_miscale: "181B"
Dockerの/config/にコピー
bodymiscale/custom_componentsをDocker Home assistantのconfigディレクトリにコピーする。
docker cp [ホストマシンのファイルパス] [コンテナID]:[コンテナ内のパス]
sudo docker cp ./bodymiscale/custom_components 027a5f1f88a3:/config/
Successfully copied 132kB to 027a5f1f88a3:.
コピーされたかチェックすると↓custom_components がコピーできてた。
sudo docker exec -it 027a5f1f88a3 /bin/bash
homeassistant:/config# ls
automations.yaml          home-assistant.log        scenes.yaml
blueprints                home-assistant.log.1      scripts.yaml
configuration.yaml        home-assistant.log.fault  secrets.yaml
custom_components         home-assistant_v2.db      tts
deps                      home-assistant_v2.db-shm
esphome                   home-assistant_v2.db-wal
ここまでできたらHome assistantを再起動。
configration.yamlの設定
以下をFile editorでconfigration.yamlに入力。
# Xiaomi body mi scale2
bodymiscale: !include custom_components/bodymiscale/bodymiscale.yaml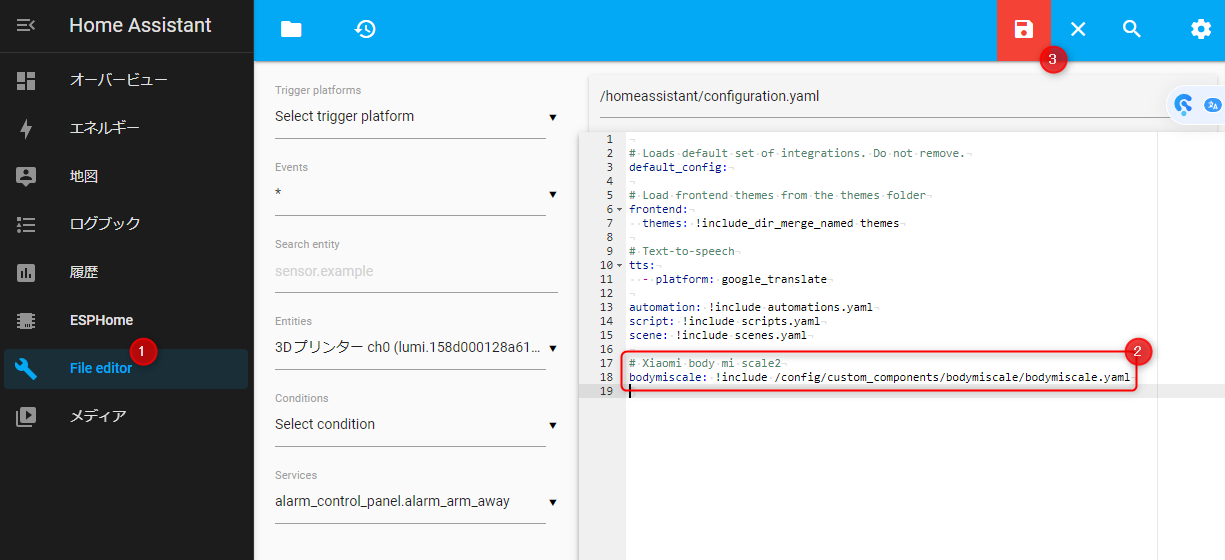
開発者ツールで設定の確認をするとエラーになる。

が、設定にアップデートがあったので、Home assistantをアップデートしたらエラーがなくなった。
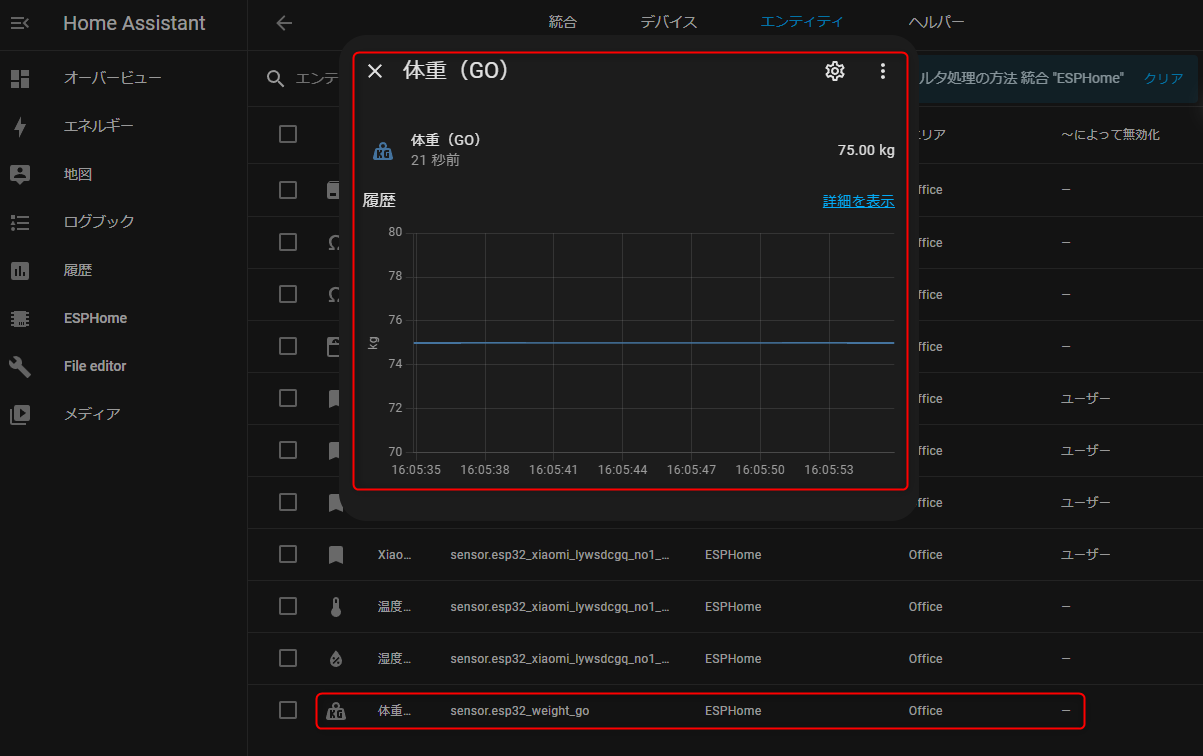
この状態で、設定 > デバイスとサービス > ESPHome >エンティティでsensor.esp32_weight_goを選ぶと、ちゃんと体重が取得できている。
カスタムカード
git clone https://github.com/dckiller51/lovelace-body-miscale-card.gitcd lovelace-body-miscale-card
mkdir www
mkdir www/src
mv dist/body-miscale-card.js www/
mv src/images www/src/作成したwwwディレクトリをconfigにコピーします。
sudo docker cp ./www 1bde9cd526e6:/config/
Successfully copied 853kB to 1bde9cd526e6:/config/

khadas@Khadas:~/lovelace-body-miscale-card$ sudo docker exec -it 1bde9cd526e6 /bin/bash
homeassistant:/config# ls
automations.yaml          home-assistant.log        scenes.yaml
blueprints                home-assistant.log.1      scripts.yaml
configuration.yaml        home-assistant.log.fault  secrets.yaml
custom_components         home-assistant_v2.db      tts
deps                      home-assistant_v2.db-shm  www
esphome                   home-assistant_v2.db-wal
wwwディレクトリがコピーされている。
configration.yamlの設定
lovelace:
  resources:
    - url: /local/body-miscale-card.js?v=1.0.0
      type: module
ここから?オーバービュー > ダッシュボードを編集 から右下の「+カードを追加」ボタンで「カスタム : BodyMiScaleカード」があるはずだけど表示されない。
未解決
体重計はZepp LifeアプリでBluetooth接続していない時だけデータを取得できるようなので、いちいちHome assistantのために体重計に乗るのはめんどうなので意味ないのかもしれません。
Xiaomi 人感センサー(失敗)
Xiaomi IoT機器をだいぶ処分してしまったが人感センサーはまだ転がっていたのでついでに登録する。
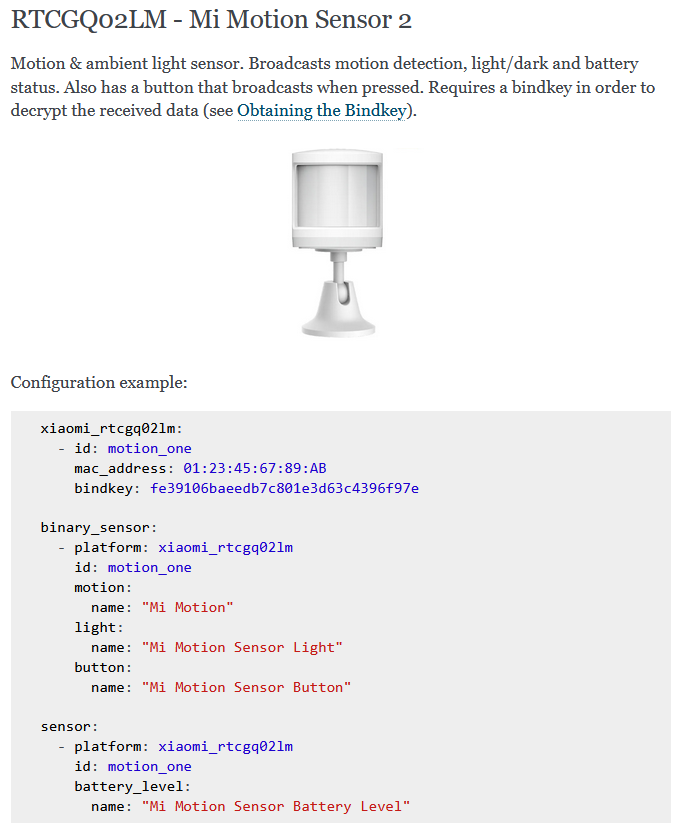
良く見たら型番RTCGQ01LMで違っていた。なので、センサーを読み取れなかった。
こちらはESPHomeで登録できて使えました。
sudo hcitool lescanがUnknownばかりなので、どれが人感センサーのMacアドレスかわからない場合はスマホアプリのBLE Scannerを使う。人感センサーを近づけて距離が違いMacアドレスを使ってみる。
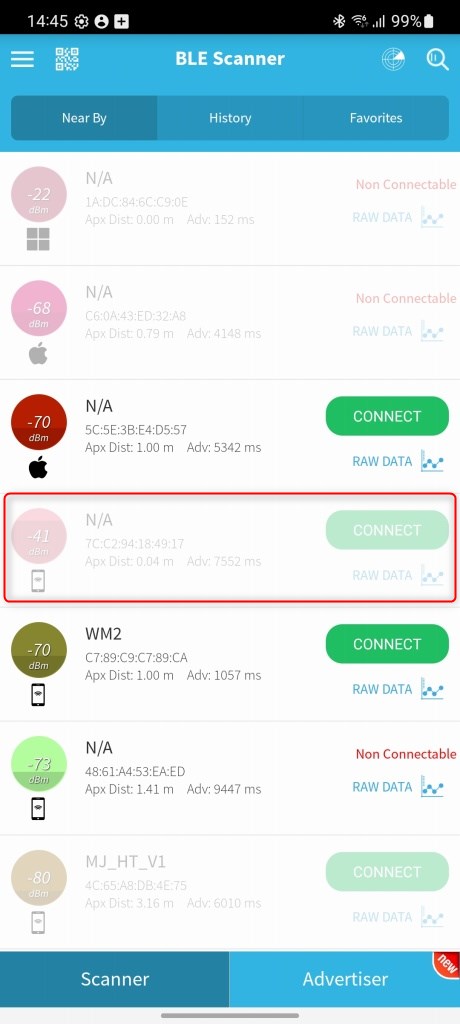
7C:C2:94:18:49:17が0.04mとかなり近いので人感センサーは多分コレだと思う。
以下のようにした。あと、bindkeyも必要だった。
xiaomi_rtcgq02lm:
  - id: motion_one
    mac_address: 7C:C2:94:18:49:17
    bindkey: fe39106baeedb7c801e3d63c4396f97e

binary_sensor:
  - platform: xiaomi_rtcgq02lm
    id: motion_one
    motion:
      name: "Mi Motion"
    light:
      name: "Mi Motion Sensor Light"
    button:
      name: "Mi Motion Sensor Button"

sensor:
  - platform: xiaomi_rtcgq02lm
    id: motion_one
    battery_level:
      name: "Mi Motion Sensor Battery Level"
以下のようにsensorセクションを先ほど登録した温湿度計・人感センサーとまとめて書く。sensorが2つあるとエラーになる。
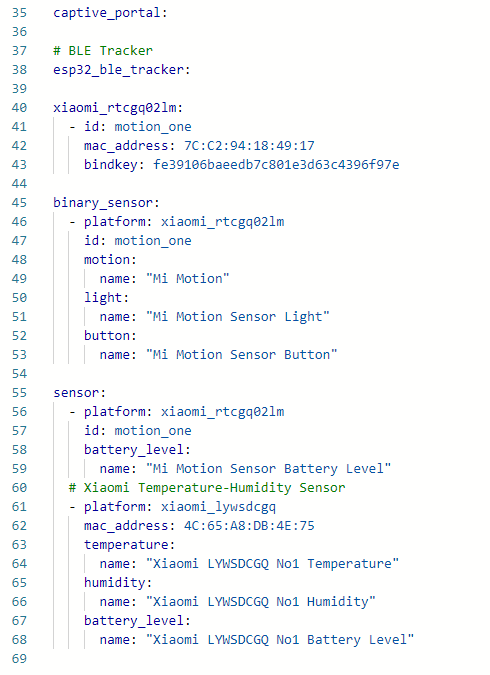
うまくESP32にインストールできた。けどセンサーは不明になる。失敗
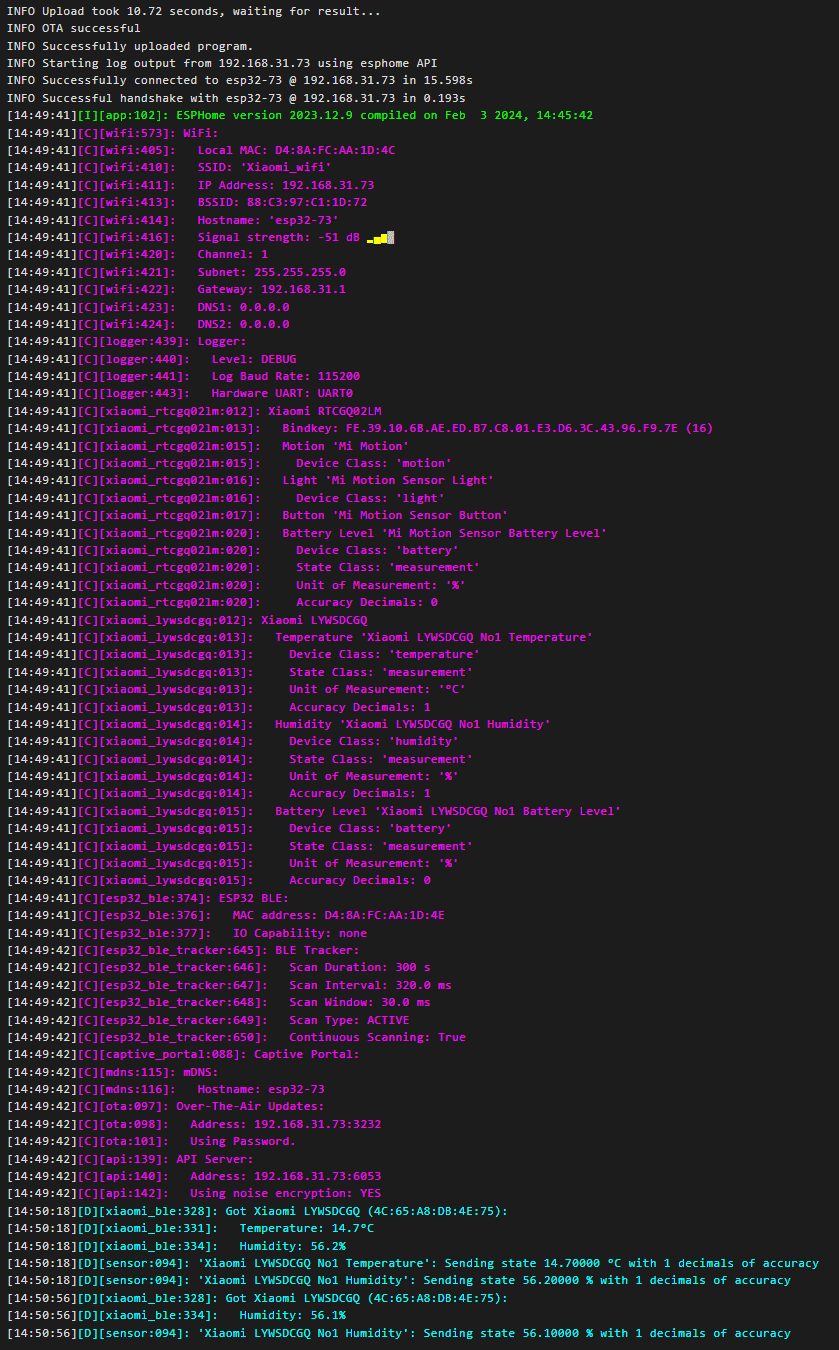
人感センサーは使えない、削除しておこう。
Qingping Air Monitor
こちらはHACSのXiaomi Miot Autoで登録できてHome Assistantでデータ取得できました。
Air MonitorはHome assistantに対応していないので使えない。Liteだったら対応しているけど・・・壊れて捨てた。

Xiaomi製品はサーキュレーターと扇風機が2台あるが、サーキュレーターはWifi接続でつながらなかった。扇風機は出してないので不明だけど望みは薄そう。
InfluxDBとGrafana アドオンは意味無いので使わない
InfluxDBはInfluxDBサーバーに送信できる。configuration.yamlで設定するだけ。説明は1ページ目に書きました。
InfluxdbはKapacitorが必要(失敗)Influxdb使わない。
InfluxdbのKapacitorが必要でインストールするにはGo言語をインストールしてから

Kapacitorインストール
Go言語インストール
wget https://go.dev/dl/go1.20.2.linux-arm64.tar.gz
sudo tar -C /usr/local -xzf go1.20.2.linux-arm64.tar.gz
rm -rf go1.20.2.linux-arm64.tar.gz
export PATH=$PATH:/usr/local/go/bin
最後にGoが入っているかバージョンを確認。
go version
go version go1.20.2 linux/arm64
Kapacitorダウンロード
go get github.com/influxdata/kapacitor/cmd/kapacitor
go get github.com/influxdata/kapacitor/cmd/kapacitord
上記2つをインストールしないとダメみたい。やってみるとプロジェクトのモジュールが無いので実行できなかった。
$ go get github.com/influxdata/kapacitor/cmd/kapacitor
go: go.mod file not found in current directory or any parent directory.
        'go get' is no longer supported outside a module.
        To build and install a command, use 'go install' with a version,
        like 'go install example.com/cmd@latest'
        For more information, see https://golang.org/doc/go-get-install-deprecation
        or run 'go help get' or 'go help install'.
InfluxDBからデータを取得するのには、Grafanaがあるので必要なさそうだけど、Home assistantが集めたデータをInfluxDBに送るのには需要がありあそう。今後調べてみます。


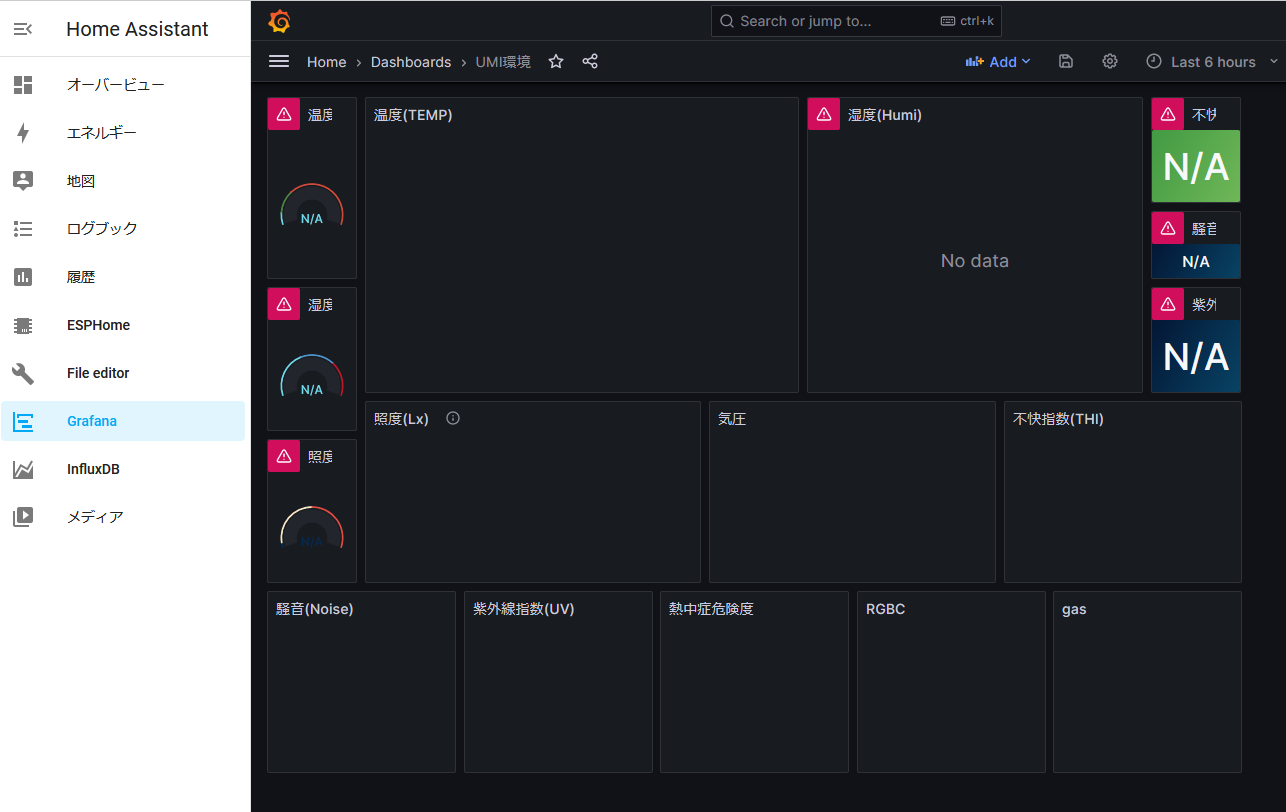
Grafanaも使わない
Grafanaあるのでいらないかな?
同様にGrafanaもあるけど、普通にWebブラウザでGrafana表示するのと変わり無いので使わないことにする。



コメント